A lighting control system is easiest to appreciate when it disappears into the architecture. The right keypad is where your hand expects it. Motorized shades move quietly with the afternoon sun. Lighting scenes support dinner, entertaining, relaxing, and security without a wall crowded with switches. That is why the answer to “Should You Install Lutron Before or After a Remodel?” is usually: begin the design before construction, complete the infrastructure during the remodel, and install the visible components at the finish stage.
Waiting until the remodel is complete can still be an option in select projects. But it often means accepting fewer control locations, more visible hardware, limited shade options, or additional disruption to finished walls and ceilings. A Lutron system works at its highest level when it is planned alongside the space itself.
Should You Install Lutron Before or After a Remodel?
For a whole-home Lutron lighting and shade system, the planning should happen before demolition and before final construction drawings are issued. This is the stage where an integration professional can understand how the home will be used, coordinate with the design team, and identify the wiring, equipment locations, and control points the project requires.
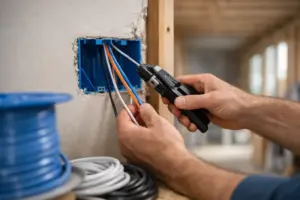
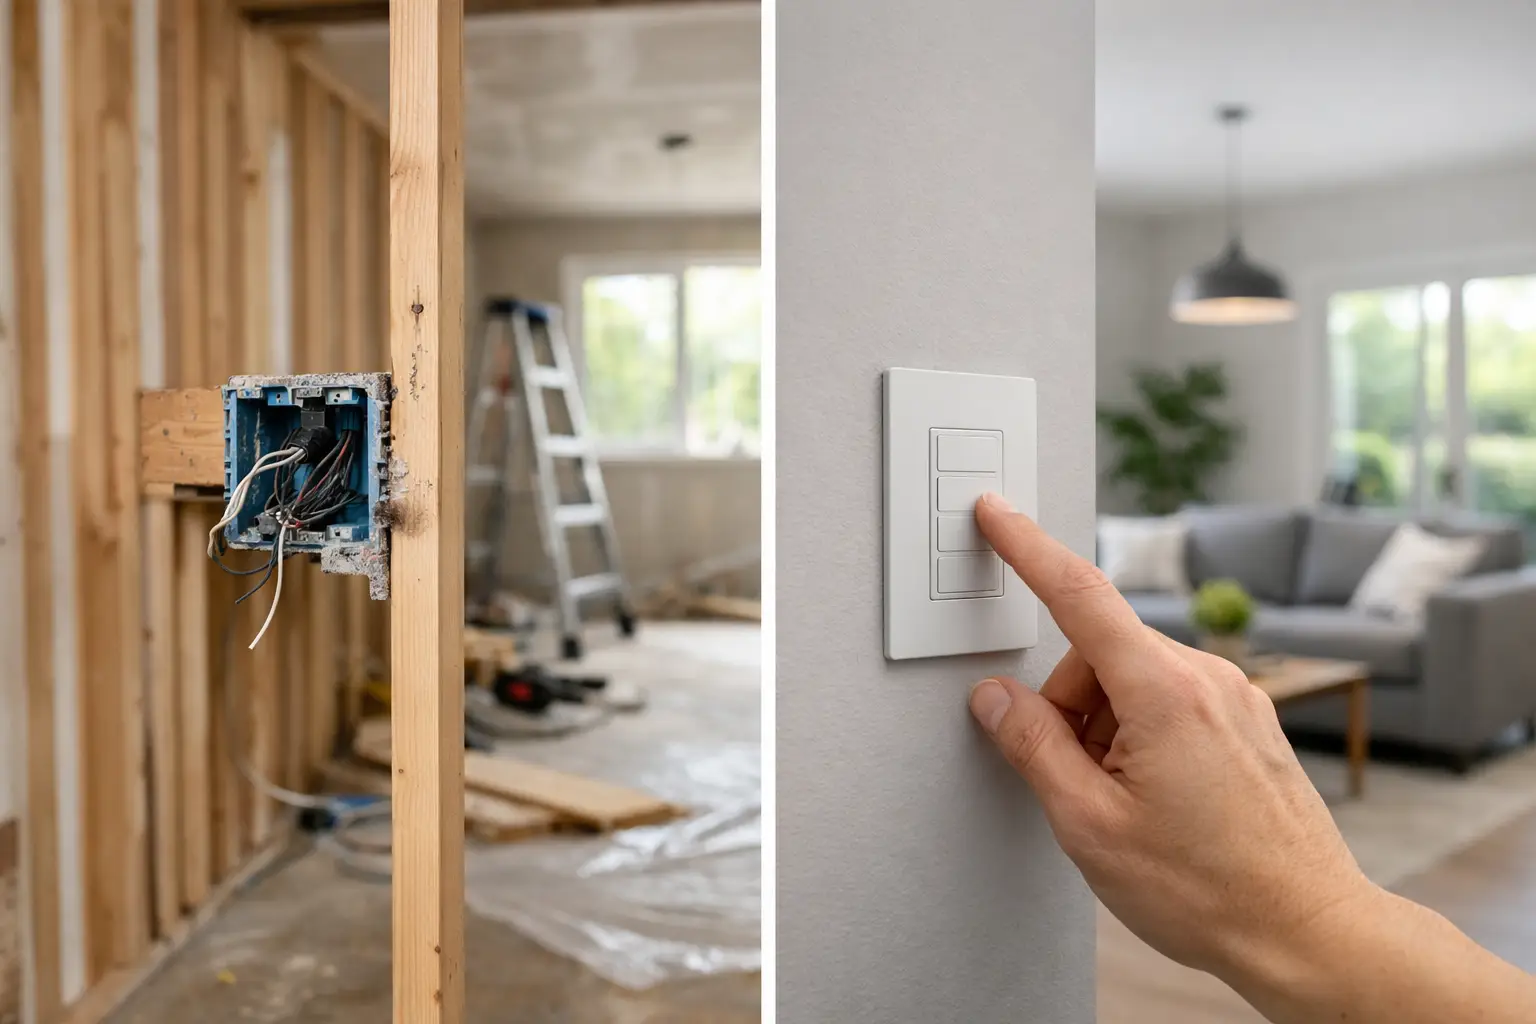
The physical installation happens in phases. During rough-in, the project team runs low-voltage cabling, prepares locations for shades, plans equipment enclosures, and coordinates pathways before walls are closed. Near the end of the remodel, after finishes are protected and paint is complete, the team installs keypads, dimmers, shades, processors, and other visible components. Programming, calibration, and client training follow once the home is ready for use.
This sequence protects the design while giving the system the foundation it needs for dependable long-term operation.
Why Early Planning Changes the Result
Lutron is more than a replacement for standard wall switches. It can bring lighting, window treatments, climate settings, audio, security, and automated scenes into a unified control experience. That level of integration requires decisions that affect the construction plan.
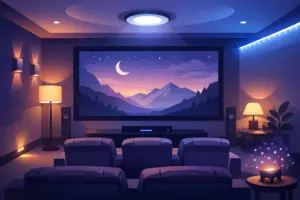
A designer may want a clean wall with a single engraved keypad instead of a cluster of switches. A homeowner may want shades to lower automatically in rooms with strong west-facing sun. A media room may need lighting scenes that dim fixtures, close shades, and prepare the space for a movie. Those outcomes are much easier to achieve when the controls, shade pockets, fixture types, and cable routes are decided before the room is built.
Early planning also prevents a common renovation frustration: discovering late in the process that a desired feature requires opening a newly finished wall or changing millwork. For luxury residences in South Florida, where expansive glass and intense sunlight are often part of the architecture, window-treatment planning deserves particular attention. Shade type, fabric openness, mounting detail, power, and control all affect the final appearance and performance.
What Should Be Decided Before Construction Starts
The first phase is not about choosing every keypad color. It is about creating a clear technology plan that supports the renovation scope. An experienced integrator will review floor plans, reflected ceiling plans, elevations, window schedules, and the intended use of each room.
The key decisions typically include where lighting loads will be controlled, whether centralized lighting panels are appropriate, and which rooms need local keypads, sensors, or tabletop controls. The team should also determine whether shades will be battery-powered, wired, or use another planned power strategy. In many premium projects, wired shades provide the cleanest long-term installation because power can be concealed within the architecture.
Equipment placement matters as well. Processors, lighting panels, network equipment, and audio components need a properly planned location with ventilation, access, and a clean cable pathway. A closet, utility area, or dedicated technology space may be ideal, but only if it is reserved early enough. The system should never feel like an afterthought crowded into whatever cabinet is left at the end.
This is also the right time to coordinate Lutron with other systems. The home’s control experience becomes more useful when lighting scenes work with whole-house audio, surveillance, door access, climate control, and outdoor entertainment. Planning these relationships up front reduces duplicate controls and gives the homeowner a more intuitive experience.
The Rough-In Stage Is Where Flexibility Is Created
Once walls and ceilings are open, the project gains access it will not have again without added disruption. This is the moment to install cabling, prepare backboxes, route power for shades, and establish infrastructure for future expansion.
Even when a homeowner is starting with a focused scope, thoughtful rough-in can preserve options. A dining room may only need lighting control today, but its design may support motorized shades later. A primary suite may initially use standard scenes, then add additional keypads or automated shading once the family sees how the home performs throughout the day. Planning for these possibilities during construction is far more refined than attempting to retrofit them after completion.
Coordination is essential here. Lighting designers, architects, builders, millwork teams, window-treatment professionals, and technology integrators each influence the finished result. A recessed shade pocket can conflict with ceiling details if it is not reviewed early. Decorative fixtures can affect load planning. Stone, tile, and custom wall panels can restrict keypad placement once installed.
A capable integration partner takes ownership of these details, communicating with the project team so technology supports the architecture rather than competing with it.
Install the Devices After Finishes Are Complete
While the infrastructure should be in place well before walls close, most visible Lutron components belong near the end of the remodel. Keypads, dimmers, faceplates, and shades can be damaged by dust, paint, drywall work, and ongoing construction traffic. Final installation after finish work protects the equipment and allows control locations to be confirmed against the completed space.
This phase is also when programming becomes meaningful. Lighting scenes should be created around the homeowner’s actual routines, not generic labels alone. For example, “Welcome” might illuminate the foyer, kitchen, and pathway to the primary living areas. “Evening” can soften indoor lights while activating landscape lighting. “Away” can turn off selected loads, lower shades, and support the home’s security posture.
Final commissioning includes testing every controlled load, keypad, shade, scene, and connected subsystem. It should also include a walkthrough that explains how the system works in plain language. Premium technology should feel dependable and straightforward for every member of the household, including guests and household staff.
When Installing Lutron After a Remodel Makes Sense
A completed remodel does not rule out Lutron. Wireless lighting control can be an excellent fit for a finished home when the scope is limited, when opening walls is not desirable, or when a homeowner wants to improve control in select rooms. It can add scenes, reduce wall clutter, and provide app-based control without a major reconstruction effort.
However, a post-remodel installation has practical limits. Hardwired shade power may not be available. Desired keypad locations may be constrained by existing switch boxes and finished surfaces. Centralized panel designs are generally more difficult to introduce after construction. Integrating multiple systems may also require more compromise if cable paths and equipment space were never planned.
The question is not whether an after-the-fact system can work. It can. The question is whether it can deliver the exact level of performance, appearance, and future flexibility the property deserves. For a kitchen refresh or a single-room update, a later installation may be perfectly appropriate. For a substantial renovation, major addition, or new luxury residence, early design is the stronger choice.
A Better Remodel Timeline for Lutron
The most successful projects treat Lutron as part of the design team’s early conversation. Begin with a consultation while plans are still flexible. Review room function, architectural goals, natural light, privacy needs, fixture selections, entertainment areas, and the systems that should work together.
Next, finalize the infrastructure plan before rough-in. This is when wiring, shade preparation, controls, equipment locations, and network requirements are documented and coordinated. After construction finishes are complete, install and program the system, then test every function before the project handoff.
This approach gives homeowners control over details that are expensive or disruptive to change later. It also creates a more polished result: fewer wall controls, cleaner shade integration, reliable scenes, and technology that supports the way the property is actually lived in.
For a remodel intended to elevate comfort, security, and entertainment, Lutron should be considered before construction begins. Sentry Audio Video can help translate your plans into a coordinated control system that looks refined, performs reliably, and remains easy to use long after the final walk-through.