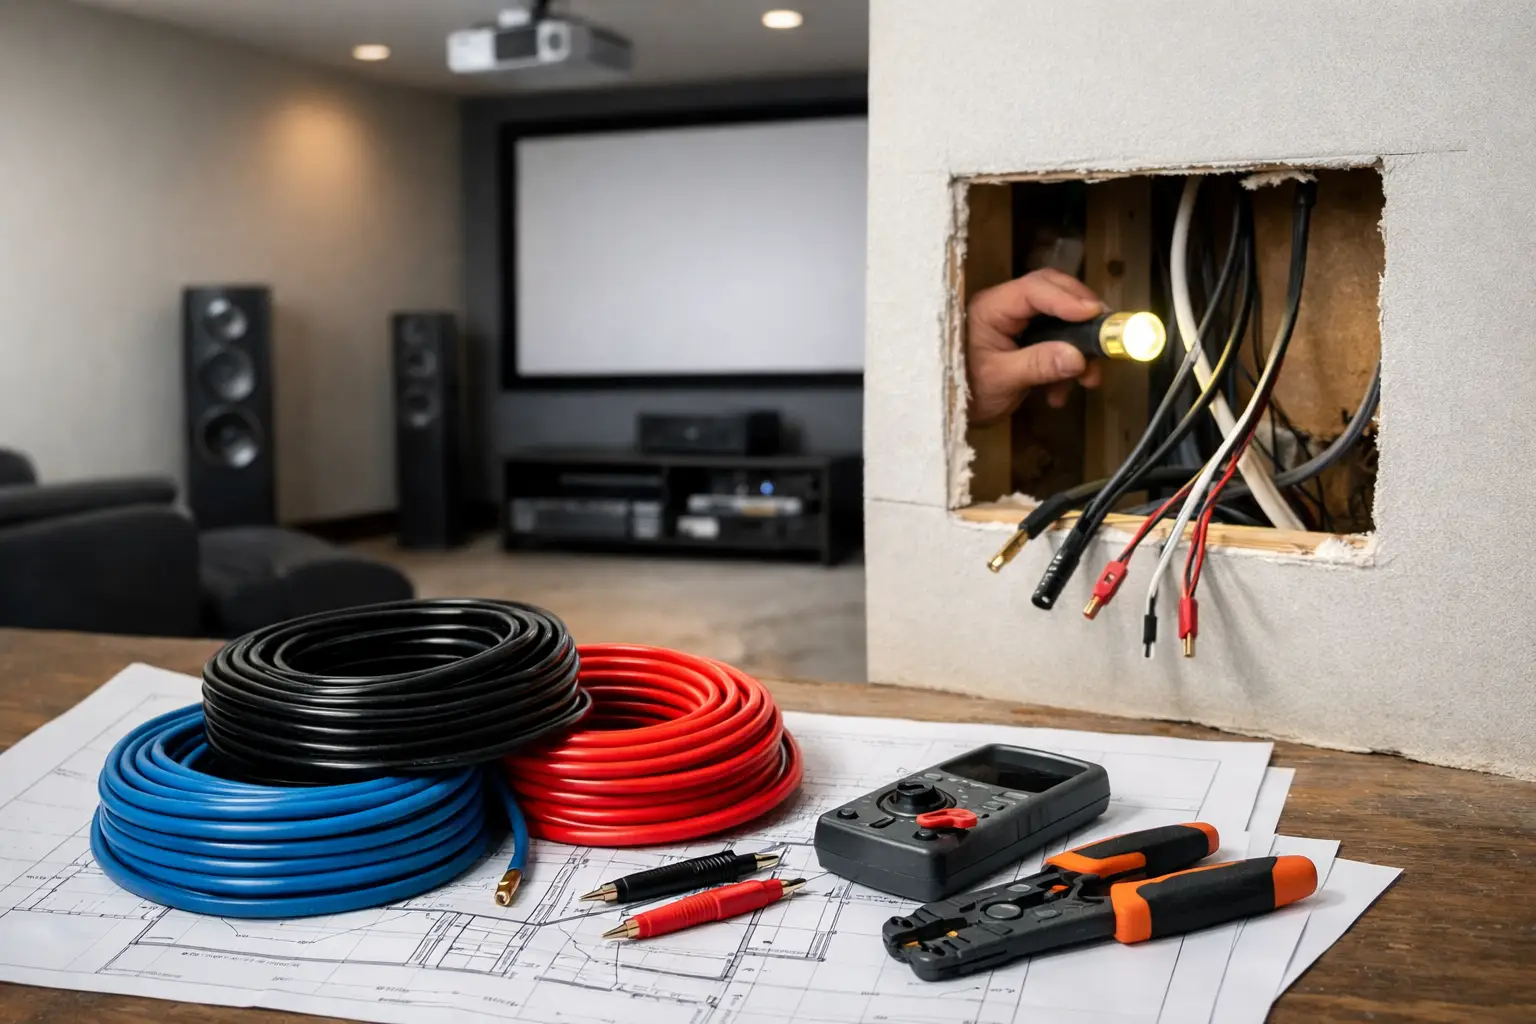
A beautiful theater can be undermined by one overlooked detail: the wiring plan. When cables are treated as an afterthought, homeowners can end up with visible connections, limited equipment options, signal issues, and walls that need to be opened again for future upgrades. Knowing how to plan home theater wiring before construction or renovation begins protects the performance, appearance, and long-term value of the space.
A professional theater wiring plan is not simply a list of cables. It is a coordinated infrastructure design that considers the room layout, display or projector location, speaker placement, equipment rack, network, control system, power requirements, and ventilation. The right plan makes sophisticated technology feel effortless once the room is complete.
Start With the Room, Not the Equipment
The first decision is how the room will be used. A dedicated theater with tiered seating and a projector has different wiring needs than a media room centered around a large display, casual seating, and daylight from nearby windows. The viewing distance, ceiling height, wall construction, seating positions, and acoustic treatment all affect where components and cables belong.
Begin by establishing the primary viewing wall or projection screen location. Then map the main seating position. These two points guide the placement of the center speaker, surround speakers, subwoofers, control interfaces, and equipment connections. If the room is still framed, this is the ideal time to make decisions. Access is open, cable pathways are easy to create, and the finished installation can remain completely concealed.
It also helps to think beyond movie night. Will the room connect to whole-home audio? Should the same display be available for entertaining or security camera viewing? Will motorized shades, lighting scenes, and climate settings be controlled from the theater interface? These choices influence the structured cabling and control wiring that should be included from the start.
How to Plan Home Theater Wiring Around the Signal Path
Every theater has a signal path: content sources and network services connect to audio and video processing, which then feeds the display and speakers. Planning this path clearly prevents unnecessary cable runs and makes service far more straightforward.
In many premium installations, source components, audio processing, amplifiers, network hardware, and control equipment live in a dedicated rack outside the theater. A nearby closet, utility room, or purpose-built equipment area keeps heat, fan noise, and indicator lights out of the viewing space. It also allows the theater to maintain a clean, architectural finish.
From that centralized location, plan dedicated pathways to the display or projector, each speaker position, subwoofer locations, network access points, touch panels, and any control devices. The rack should be accessible for maintenance, with adequate ventilation and clear labeling. A polished system is not only clean on opening day. It remains organized when service or future changes are required.
Plan More Than One Route to the Display
The connection between the equipment rack and the display is among the most critical runs in the room. High-resolution video requires substantial bandwidth, and the requirements continue to evolve. A properly designed pathway should include the necessary video transport method for the selected system, plus spare capacity for the future.
Conduit is especially valuable for any difficult display-to-rack route. It gives a technician a protected, accessible path to replace or add cabling without disturbing finished walls or ceilings. The conduit needs gentle bends, properly sized pull points, and ends that are reachable at both locations. A pathway that is too tight or filled beyond capacity defeats its purpose.
A wired network connection should also be planned at the display or projector location. While wireless connectivity can be useful for mobile devices, permanent theater components benefit from the consistency of a hardwired network connection. Depending on the design, it may also support control, video distribution, or equipment management.
Give Every Speaker a Dedicated Home Run
Speaker wiring should run individually from the equipment rack or amplifier location to each speaker. This is known as a home-run layout, and it improves flexibility during calibration and service. Avoid combining channels in inaccessible locations or relying on hidden junctions behind walls.
The basic layout may include front left, center, and right speakers, along with surround and overhead channels. The exact number depends on the room dimensions, seating layout, speaker design, and desired immersion. A larger room or multiple rows of seating may call for additional surround coverage, while a compact space may perform better with a more focused configuration.
Subwoofer planning deserves equal attention. Low-frequency performance is heavily influenced by room boundaries and seating locations, so one subwoofer may not provide even bass throughout the room. Running signal wiring to multiple potential subwoofer positions gives the system designer flexibility to optimize performance during installation and calibration. It is much easier to provide those locations before finishes are in place than to add them later.
Separate Power From Low-Voltage Cabling
Home theater systems contain sensitive audio, video, network, and control signals. Routing those low-voltage cables too closely alongside power wiring can contribute to unwanted interference in certain conditions. A disciplined wiring plan keeps power and signal pathways separate, with appropriate crossings and clear cable management where they must meet.
Power planning should be coordinated with qualified electrical professionals and the theater integrator. The equipment rack, display or projector, powered subwoofers, motorized shades, and seating accessories may all require dedicated outlets in specific locations. A projector outlet, for example, should be located where it will be hidden by the mounting assembly while remaining accessible.
The equipment rack often benefits from properly planned power distribution and protection. Large amplifiers, processors, network equipment, and control hardware should not be treated like an assortment of plug-in devices. Their electrical needs, heat output, and service access should be considered as one integrated system.
Design for Control, Network, and Automation
A theater should not require a coffee table full of remotes. Control wiring and network infrastructure allow the room to operate as one coordinated experience: select a movie, lower the shades, set the lights, power the system, and begin playback with a simple command.
Hardwired connections for touch panels, keypads, sensors, and control processors create a dependable foundation. Wireless control can be an excellent supplement, but a fixed interface at the entry or seating area is often useful for guests and family members. If the theater will integrate with lighting, shades, security, or whole-home audio, those systems should be identified during the design phase so the right infrastructure can be planned.
Network capacity is equally important. Video streaming, system control, updates, and distributed content all rely on a stable network. A dedicated network connection at the equipment rack is essential, and additional connections may be appropriate at the display, projector, wireless access point, or other equipment locations. The network should be designed as part of the home’s overall IT infrastructure, not added as a final connection after the theater is installed.
Leave Capacity for Change
The most expensive wiring decision is often the cable that was never installed. Technology changes, and a theater may evolve as a family’s needs change. Prewire for sensible future possibilities, particularly when walls and ceilings are open.
Useful provisions can include spare conduit between the rack and display location, additional speaker wire to possible ceiling positions, extra network cabling, control wiring to likely keypad locations, and signal runs to outdoor or adjacent entertainment areas. The goal is not to install every possible cable without a purpose. It is to identify the upgrades that would be disruptive or costly after construction and create an accessible path now.
Documentation matters as much as the cabling itself. Every run should be labeled at both ends, recorded in an as-built plan, and tested before walls are closed. Clear documentation gives future technicians a reliable map of the system and eliminates guesswork years later.
Coordinate the Wiring Plan Early
Home theater wiring intersects with framing, electrical work, lighting, cabinetry, HVAC coordination, acoustical treatments, and interior finishes. The earlier the integration team is involved, the more effectively those disciplines can work together. A projector mount should not compete with a decorative ceiling detail. An in-wall speaker should not land behind millwork. An equipment rack should not be placed in a closet with no ventilation or service clearance.
For homeowners planning a new theater or major renovation, Sentry AV can develop the infrastructure, equipment layout, and control strategy as one coordinated design. That approach keeps the focus where it belongs: exceptional picture, powerful sound, intuitive operation, and a finished room that looks as refined as it performs.
The right time to plan theater wiring is before the room becomes difficult to access. A thoughtful design gives you more freedom in the equipment you choose, more confidence in daily performance, and a theater that remains ready for what comes next.