
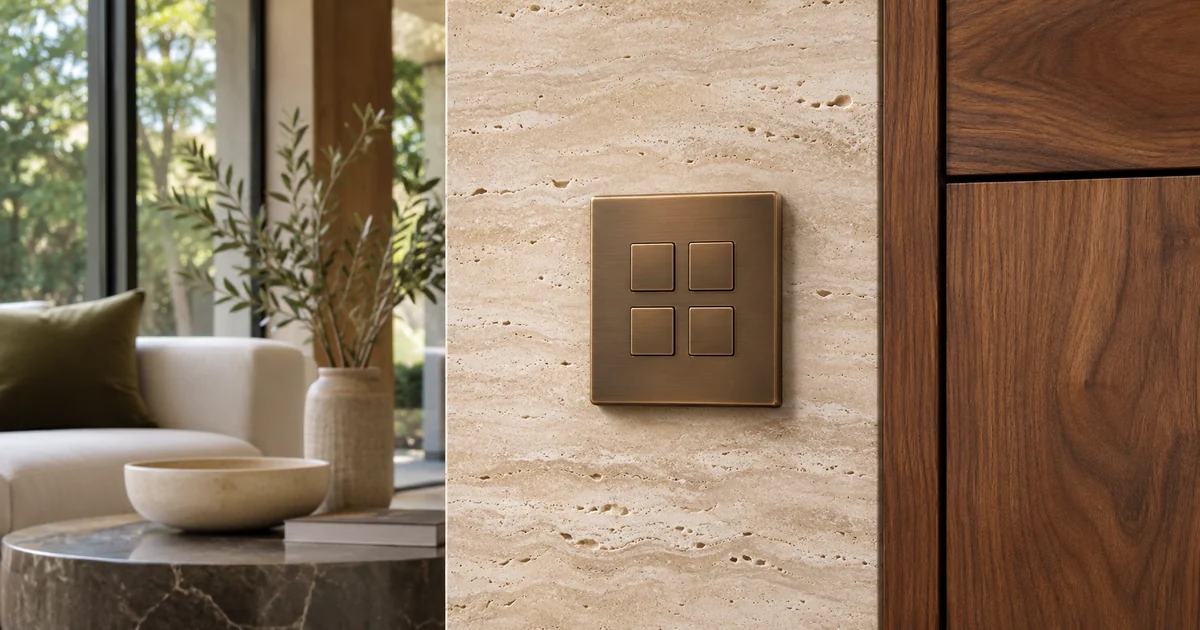
A Lutron keypad can look beautifully integrated into stone, plaster or custom millwork, but the finished detail needs more than a location marked on a plan. The selected keypad, mounting assembly, wallbox and wall finish must fit together. Approve that relationship before expensive surfaces are fabricated and the opportunity for adjustment becomes limited.
This guide concerns the physical installation detail, not button engraving or lighting-scene design. For the complete lighting project, explore Sentry Audio Video’s Lutron lighting services.
Identify the exact keypad family and configuration
Begin with the model and regional version actually being supplied. Lutron offers different keypad designs and mounting arrangements; a detail from a similar-looking product should not automatically become the construction instruction for another. Confirm the applicable faceplate or trim assembly and the installation documentation that belongs to the selected equipment.
The equipment schedule should be clear enough for the electrician, millworker and stone fabricator to refer to the same assembly. A note that says bronze keypad describes an appearance, not the complete mounting requirement. Finish selection and technical selection should meet in one accepted schedule before fabrication proceeds.
Draw the wall as a complete assembly
Ask the project team to show the supporting wall, mounting box, finished surface and keypad position together. Stone, adhesive, backing, plaster or decorative panels can change the relationship between the box and the finished face. The drawing should reflect the actual construction rather than a generic wall thickness that no longer matches the design.
Coordinate the detail with the responsible electrical professional and the selected product instructions. This is not a reason to improvise box extensions, alter a listed assembly or bury serviceable parts behind a finish. Where the proposed detail is unresolved, obtain the appropriate review before material is cut or the wall is closed.
Review flatness as well as depth
A keypad can be positioned at the intended height yet sit poorly on an uneven surface. Lutron’s published Palladiom installation guidance discusses how wall conditions affect the fit of the assembly. That guidance is product-specific; dimensions or mounting arrangements from international models should not be copied into a different regional installation.
Inspect the proposed location for joints, surface changes and decorative features that could interfere with a consistent mounting plane. The designer and installer should decide how the keypad meets the finished surface. A small physical sample can make an unresolved edge condition easier to understand than a distant elevation drawing.
Coordinate the stone or millwork opening
The fabricator needs the accepted opening detail for the chosen assembly and a clear reference to the finished construction. Confirm the visible trim relationship, alignment with adjacent controls and any access requirements. The project team should define the applicable tolerances rather than treating a photograph as a fabrication template.
Also identify who checks the opening before final installation. If the hardware selection changes, the fabricator needs a revised instruction before cutting. A change that seems minor on an equipment list may affect a finished opening, so the process should connect equipment revisions to the relevant drawing revisions.
Use a representative mockup where finishes are expensive
For an important entry, kitchen wall or substantial run of millwork, consider a representative assembly review before repeating the detail. The sample should use the selected keypad and a finish condition that is meaningful for the actual installation. Agree on what is being accepted: fit, visible edges, alignment and a practical mounting arrangement.
Record the accepted version and any outstanding items. A sample assembled with a temporary backing or different material should not silently become approval of the final wall construction. The value of a mockup comes from making the relevant decisions concrete while there is still an opportunity to correct the detail.
Preserve installation and service access
The finished wall should allow the selected equipment to be installed and serviced according to its instructions. Ask how the assembly is removed, what access is needed and which surrounding parts remain in place during ordinary service. Concealing technology should not mean permanently concealing the parts a technician needs to reach.
Keep the relevant product and construction records with the lighting documentation. If a future keypad replacement is proposed, review the actual opening and mounting arrangement before purchasing another model. This does not turn every new installation into a future-upgrade project; it simply makes the original work understandable and serviceable.
Assign responsibility before fabrication
The proposal and construction coordination should identify who supplies the keypad, who provides the mounting box, who verifies the wall construction and who accepts the finished appearance. Clarify whether the lighting installer is also responsible for any electrical or finish work, or whether those items sit with other project trades.
Use a clear approval sequence: equipment selected, relevant instructions reviewed, wall detail coordinated, representative condition accepted where needed and fabrication released. If the finish thickness, keypad or wallbox changes, return the affected detail for review. That process is more useful than discovering at trim-out that each trade followed a different assumption.
Check the completed installation against the accepted detail
At handoff, compare the keypad’s fit and appearance with the approved sample or drawing. Confirm the assembly is properly seated and that normal operation does not reveal a physical fit issue. Any unresolved condition should be documented and directed to the responsible installer rather than hidden with an unapproved field modification.
Keep button lettering and scene behavior as their own approval items. They matter to the lighting experience, but they do not resolve a wallbox or trim problem. Sentry’s separate keypad engraving guide addresses those programming and labeling decisions.
Bring the lighting team into the finish review
For Miami and Miami Beach Lutron installations, send the proposed keypad information, wall elevations and finish details while changes are still practical. Include your construction stage and the designer or fabricator involved so the installation scope can be coordinated around the actual project.
Request a lighting consultation or call (305) 502-0003 for Miami Beach, (954) 859-6475 for Fort Lauderdale or (561) 717-3280 for Boca Raton. A coordinated keypad detail helps the lighting system look intentional from the first day.
Manufacturer references
- Lutron Palladiom installation best practices — international models; model-specific scope
- Lutron HomeWorks wired Palladiom Bespoke specification
- Lutron HomeWorks support and installation resources
Technical references reviewed November 6, 2026. Confirm applicable product, software and installation requirements when specifying the project.