Motorized shades look simple after they are installed, but the cleanest results depend on decisions made long before fabric is ordered. Power, pocket dimensions, fascia, window depth, glass exposure, control wiring and access for service all affect whether the finished shade disappears into the architecture or feels like an addition.
For South Florida estates, condominiums and new construction, early coordination is especially important. Large glass openings, intense sun, hurricane-rated assemblies, layered treatments and limited ceiling space can all change the design. This planning guide explains what the owner, designer, builder, electrician and low-voltage integrator should resolve before finishes are complete.
Start with the window condition, not the motor
Each opening should be documented by width, height, depth, glass type, orientation and surrounding finish. A narrow jamb may not have room for the preferred roller, while a very wide opening may require a larger tube or a split treatment. Corner glass, sliding doors and groups of windows need alignment decisions before pockets or trim are framed.
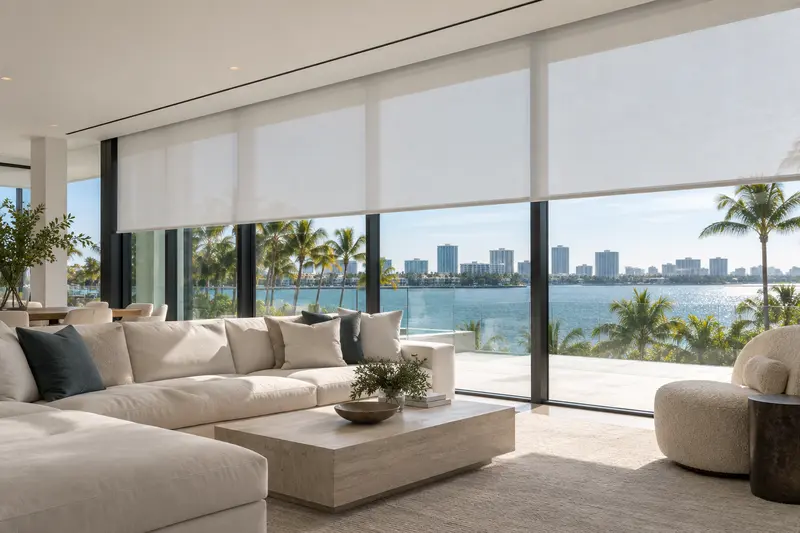
Direct afternoon sun can make heat and glare control the priority. Bedrooms may need room-darkening side channels or a layered design. Living spaces may favor a sheer fabric that preserves a view while reducing brightness. Those goals determine the shade type and physical space required.
Coordinate shade power before drywall
Motorized shades need dependable power at the correct side and elevation. The power method varies by system and design, so the project team should not assume that a generic outlet or loose wire will be acceptable. Confirm the selected shade family, motor type, power supply location, wire route and service access before electrical rough-in.
- Identify every powered opening on the reflected ceiling and electrical plans.
- Confirm whether power is local, centrally supplied or provided through another approved method.
- Keep shade wiring separate from line voltage where required by the system design and applicable code.
- Label both ends of every cable and record the route before walls close.
- Leave access to power supplies, interfaces and serviceable connections.
A photograph of every rough-in is useful, but it is not a substitute for an accurate drawing. Future service is faster when the next technician can find the power source without opening finished surfaces.
Design pockets and fascia as architectural details
A recessed pocket can conceal the roller and create a clean ceiling line, but only when its dimensions match the actual shade assembly. The pocket has to accommodate the roller, brackets, fabric drop, wiring and installation tolerances. It also needs a closure detail that can be removed for service.
Fascia is often the better answer when construction is already advanced or when a recessed pocket would conflict with structure, sprinklers, glazing or ceiling systems. Fascia color and profile should be selected with the designer so it appears intentional. Surface-mounted shades can still look refined when the mounting line, bracket spacing and adjacent finishes are coordinated.
Questions to settle before fabrication
- Will the shade be recessed, fascia-covered or intentionally exposed?
- Who is responsible for pocket framing, closures and finish paint?
- Is the fabric roll regular or reverse, and where should it travel relative to handles and trim?
- Will drapery, sheers or another treatment share the opening?
- Can the roller and motor be removed later without damaging millwork?
Plan controls with the lighting system
Shades are most useful when daily operation is simple. Wall keypads, scheduled scenes, mobile control and automation can work together, but the design should specify who can control which shades and what happens during common routines. A morning scene may raise selected shades gradually, while an away scene can lower exposed openings without changing private rooms.
Lutron shades can be coordinated with compatible Lutron lighting-control systems, including scene-based operation where supported and properly commissioned. The goal is not to add more buttons. It is to make natural and electric light behave as one planned system.
Account for South Florida light and building conditions
Fabric selection should be based on more than color. Openness factor, visible light, exterior view, privacy, ultraviolet exposure and room use all matter. A fabric that looks attractive in a sample book may perform differently across a large west-facing window at 4 p.m.
Condominium projects may also require association approval, restricted work hours, elevator coordination and specific pathways through concrete construction. Waterfront properties introduce salt air and strong light. New estates may include many shade groups across multiple floors, making documentation and naming essential for programming and future service.
A practical preconstruction shade checklist
- Survey and photograph every opening.
- Confirm fabric function: sheer, privacy, room darkening or layered.
- Select the shade family and preliminary roller size.
- Approve pocket, fascia and side-channel details.
- Place power supplies and document wiring routes.
- Coordinate keypads, scenes and automation requirements.
- Verify site dimensions after finish conditions are established.
- Review access for installation, adjustment and future replacement.
The best time to discover a conflict is on a drawing, not after plaster, millwork or window treatments are complete. Early shade coordination protects the architecture and reduces costly rework.
Plan the complete lighting and shade system
Sentry Audio Video is an authorized Lutron dealer serving South Florida. We coordinate shade design with lighting control, electrical requirements, automation and construction details. Explore our Lutron shades and motorized window treatments, review our Lutron lighting-control services, or request a design consultation. Call (561) 717-3280 to discuss a new build, renovation or shade upgrade.