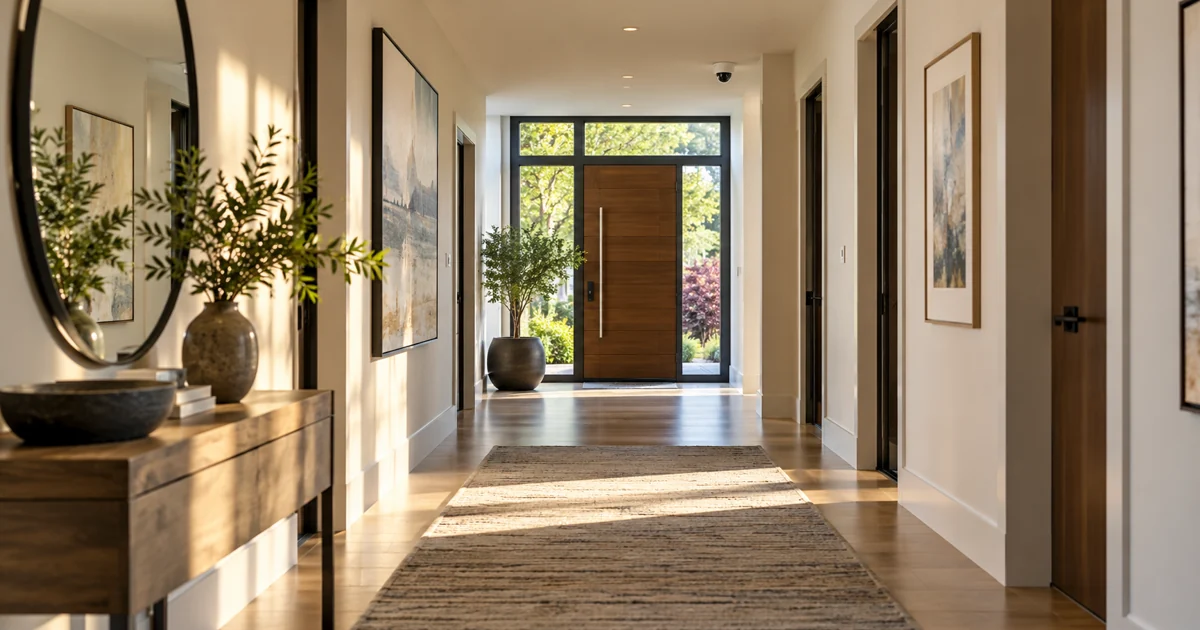
A long hallway can occupy only a narrow section of a wide camera picture. On equipment that supports corridor format, a portrait-oriented view may use the frame differently. Before buying another camera, compare the useful hallway coverage and detail in the actual supported configurations.
The decision is not that portrait is always better or that rotating a picture creates new image detail. It is whether a particular camera, lens, orientation and recording system can frame this passage more effectively while retaining the functions the property needs.
Define the hallway’s viewing task
Identify what the camera must show: an entrance, movement along the passage, a turn or a particular doorway. Note the distances and the lighting conditions that matter. A straight corridor and a hallway with several corners may require different coverage regardless of the image orientation.
Review privacy boundaries and adjacent doors as part of the layout. The camera should serve the agreed surveillance purpose. More visible floor area is not automatically a better result if the important entrance is too small or outside the useful view.
Verify corridor support for the exact model
Manufacturer terminology and implementation vary. Axis’s Q3556-LVE datasheet, for example, lists image rotation including corridor format. That is a model-specific capability to investigate; it does not establish support on every camera or in every capture mode.
Ask the installer to confirm the selected model and variant, mounting requirements, supported rotation and available recording dimensions. Physical lens or camera positioning may be part of the supported installation. Do not assume a client-side rotation button changes how the camera captures and records the scene.
- Exact camera and lens variant.
- Supported orientation and capture-mode settings.
- Resulting field of view and recorded image dimensions.
- Recorder, viewing-client and export compatibility.
- Any analytics that need verification after the change.
Compare framing using the important areas
Review a landscape and supported portrait configuration from the intended mounting position. Compare the entrance, end of the passage and relevant doorways. Note what is gained and what falls outside each view. The installer should explain the actual trade-off rather than promising a fixed percentage improvement.
Use a consistent test subject or target with appropriate authorization. Include ordinary movement and representative lighting. Evaluate useful detail in the recorded result, not only a large live image that may have been scaled by the viewing application.
Check the complete recording and viewing path
A portrait source still needs to display, record and export usefully through the installed platform. Verify the phone and desktop layouts the owner uses. Confirm whether the system scales, crops or otherwise presents the image differently in a multi-camera layout.
Check retained integrations as well. If a control-system display or monitoring client is part of the project, include it in acceptance. A correct view in the camera’s own interface does not prove the whole installed system handles it as intended.
Recheck analytic configuration after a view change
If the camera uses supported detection rules, identify which settings require review after orientation or framing changes. Test the actual configured zones and event workflow. Do not assume that a previous detection demonstration remains valid after the camera view is materially altered.
Keep this check focused on the selected configuration. It is separate from a broad AI-feature comparison or a recorder-bandwidth calculation. The equipment proposal should identify any limitation that makes another camera position or a different model the better option.
Compare useful coverage rather than frame appearance
Consider a hypothetical straight hallway where the important task is seeing entry through the far door. Draw that doorway and the other areas that must remain visible on the comparison record. A portrait image may show more of the passage while a landscape image includes an adjoining opening; neither is automatically the better choice. Ask the installer to explain the useful coverage each configuration retains and loses.
Use the same mounting position and comparable scene conditions when evaluating the supported options. Record any setting or lens change that makes the comparison different. Review ordinary movement through the far doorway and near the camera, then inspect playback and a sample export through the intended client. A layout that looks tidy in a multi-camera grid is not enough if the required doorway is poorly represented in the retained footage.
For a new building or renovation, compare the view while mounting positions and cable routes can still be changed. For a takeover, document the present coverage before reorienting a retained camera so the owner can approve any area that will no longer be visible. If no supported orientation meets both requirements, the correct next discussion may be another position or a different equipment arrangement rather than a forced portrait conversion.
The quotation should state the selected configuration, any physical adjustment, client or recorder work and the final viewing test. Keep any identification goal separate from a guarantee: the proposed view must be assessed at the actual distances and conditions. This gives the owner a practical choice based on the hallway's purpose instead of buying a display format for its appearance alone.
Approve the result with a short comparison record
- State the hallway task and important target areas.
- Confirm the manufacturer-supported configurations.
- Compare the intended views and document the trade-offs.
- Check recorded playback and an exported sample.
- Verify required viewing integrations and analytics.
- Record the final orientation, settings and remaining coverage limits.
Sentry Audio Video provides camera installation and upgrade assessments for South Florida properties. Request a hallway-camera review or call (561) 717-3280. Share the passage layout and existing camera and recorder models so the assessment can compare practical options.
Technical reference
Reviewed October 30, 2026: the AXIS Q3556-LVE datasheet. Confirm exact variant, installation instructions, capture mode, recorder behavior and analytic support before recommending a configuration.
Featured image: AI-generated illustration, not a photograph of a Sentry Audio Video project.
From our Google reviews
“Brian and his team did an outstanding job installing our security cameras.”
Security camera installation
Google review excerpt